Installing Matomo On-Premise
This page explains how to install Matomo on your web server and start tracking your site web analytics. If you prefer to watch a video tutorial, click here: How to Setup Matomo Analytics (formerly Piwik Analytics) [Video]
Getting Started
Before you get started, ensure that you have the following:
- A web server, shared hosting or dedicated server. If you do not have a web server or shared host to install Matomo on, you can get a pre-installed Matomo in minutes. Try the Matomo Cloud (formerly Piwik Cloud) service created by the makers of Matomo themselves.
- Access to your web server (via shell or FTP)
- If you have a WordPress website, we now have an easier and faster option for you to get the Matomo Analytics for WordPress plugin
- A FTP Client (if you are installing Matomo on a remote server)

Check you meet the minimum requirements
Check to make sure that your web host meets the minimum requirements to run Matomo.
Download Matomo
Download the latest release Matomo 5.0.3 from here:
Using WordPress? Try Matomo Analytics for WordPress! No technical setup required.
Start the Installation
If your web host offers one-click software (Softaculous or Installatron for example), you can install Matomo in one click.
Otherwise, follow these steps:
- Unzip the zip file to a folder on your hard drive. This will create a “matomo” folder containing the files and directories.
- Open your FTP client and upload the Matomo files in ‘binary mode’ to the desired location on your web server. For example using the Filezilla FTP client, you can enable Binary mode transfer in the top menu Transfer > Transfer type > Binary). All files can be uploaded to a “analytics” sub-directory in your public www folder, for example http://yourdomain.org/analytics/ or you could setup Matomo in its own subdomain and upload all the files at http://analytics.example.org/
If you have SSH access to your server, you can use it instead of FTP as it is much faster: run
wget https://builds.matomo.org/matomo.zip && unzip matomo.zip
When Matomo is uploaded you can move on to the next step!
The 5-minute Matomo Installation
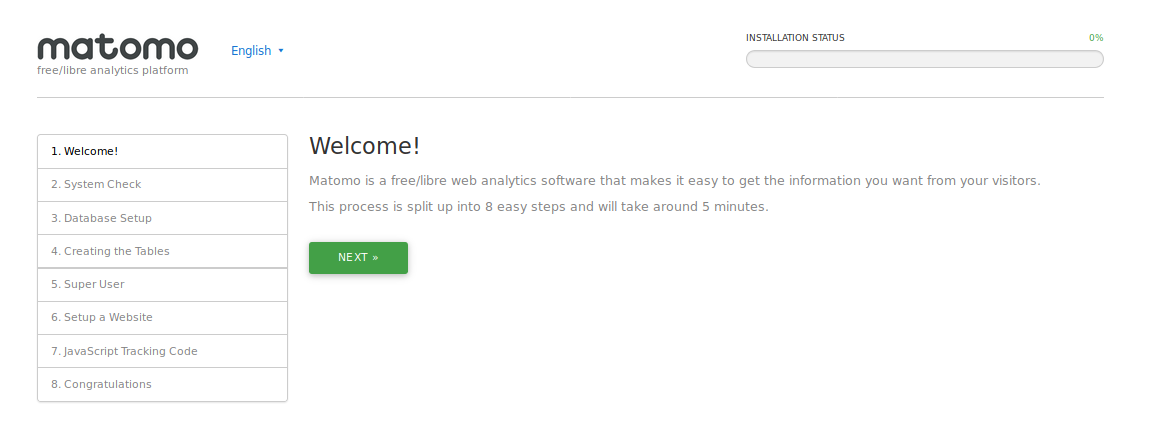
Open your web browser and navigate to the URL to which you uploaded Matomo. If everything is uploaded correctly, you should see the Matomo Installation Welcome Screen. (If you are not seeing the Welcome screen, also check that your web server such as Apache or Nginx or IIS is configured and working). If there are any problems during the installation, Matomo will identify them and help you out with a solution.
The Welcome Screen
Time to get started with the point-and-click installation! Click Next »
System Check
Matomo will check to make sure that your server meets the Matomo requirements. If everything is okay, you’ll see a long list like this:
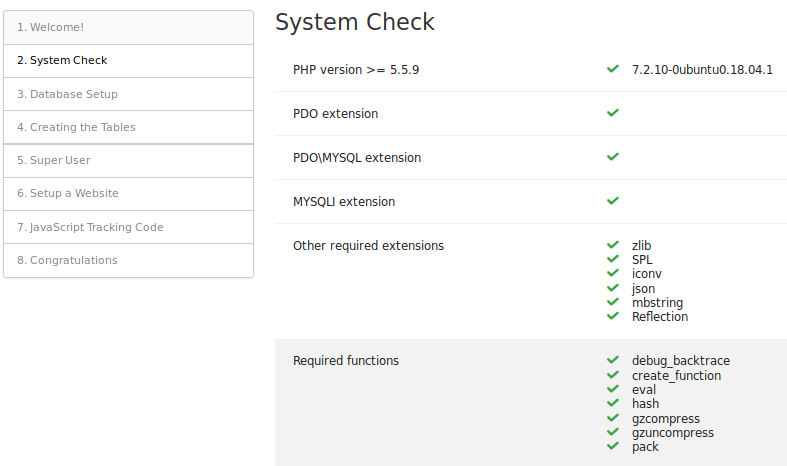
If there is a problem, Matomo will identify it and tell you how to solve it, as in this example:

When all the requirements are met, click Next »
MySQL Database Setup
You should already have set up your MySQL database. If you do not have the database information, you may need to ask your web host or technical staff.
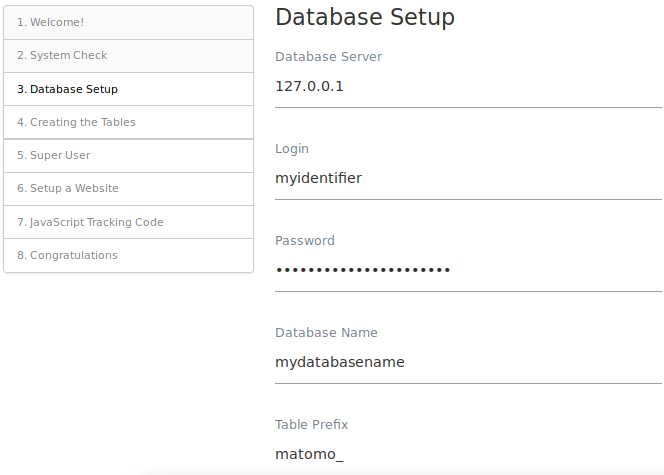
Security note: for added security, we recommend that you install Matomo in its own MySQL database and specify a username and password for a user that only has access to that database. Click here to see detailed instructions on how to create a new database and MySQL user.
(Note that by default the port 3306 is used when connecting to the database. If your server uses a different port you can enter it after the hostname, for example localhost:3307)
Once you have filled in the form, click Next »
Matomo will add the necessary tables to your database:
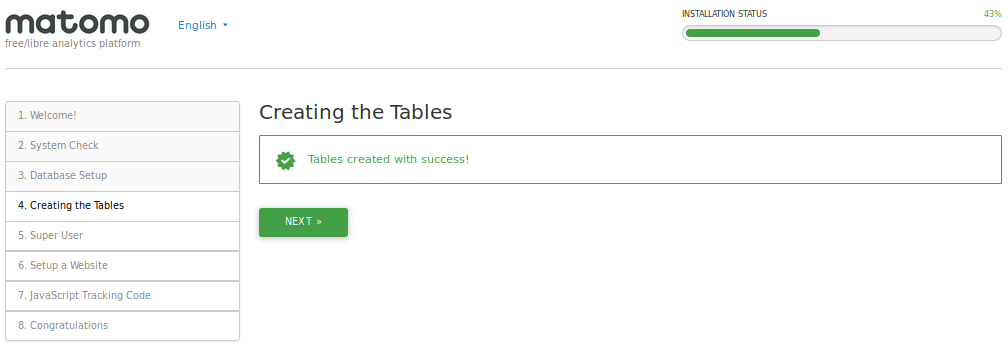
Click Next »
Super User
The super user is the user that you create when you install Matomo. This user has the highest permissions. Choose your username and password:
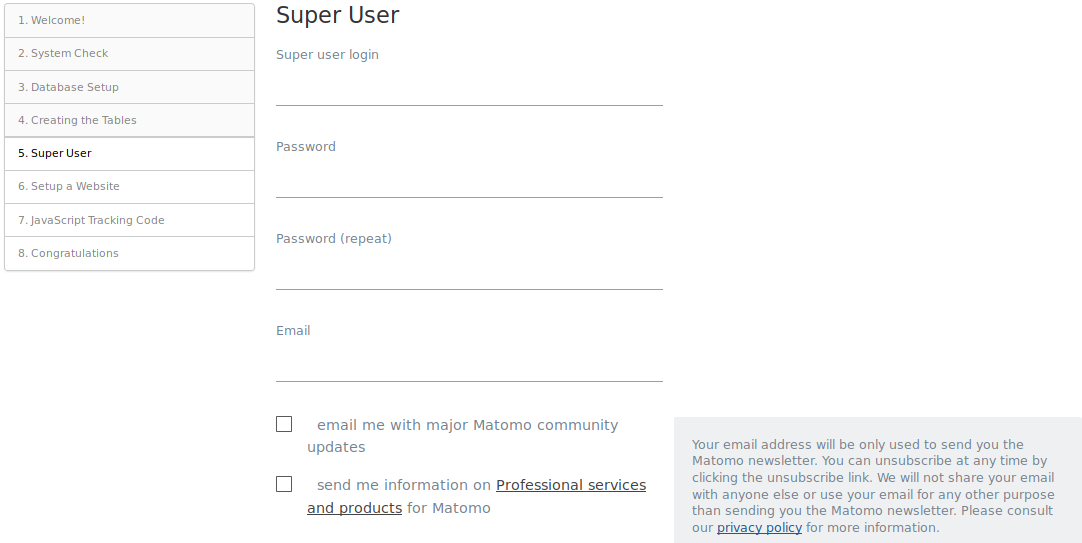
Do not lose this information; it is the only way for you to log in to Matomo for the first time. There is only one super user in each Matomo installation. The super user can perform administrative tasks such as adding new websites to monitor, adding users, changing user permissions, and enabling and disabling plugins.
By default the super user will be signed up for upgrade and security alerts, as well as for community updates. Uncheck these boxes if you do not want to receive these emails.
Fill in the information and click Next »
Set up Your First Website
Enter the name and URL of the first website you want to track. You can add more websites once the installation is complete.

Click Next »
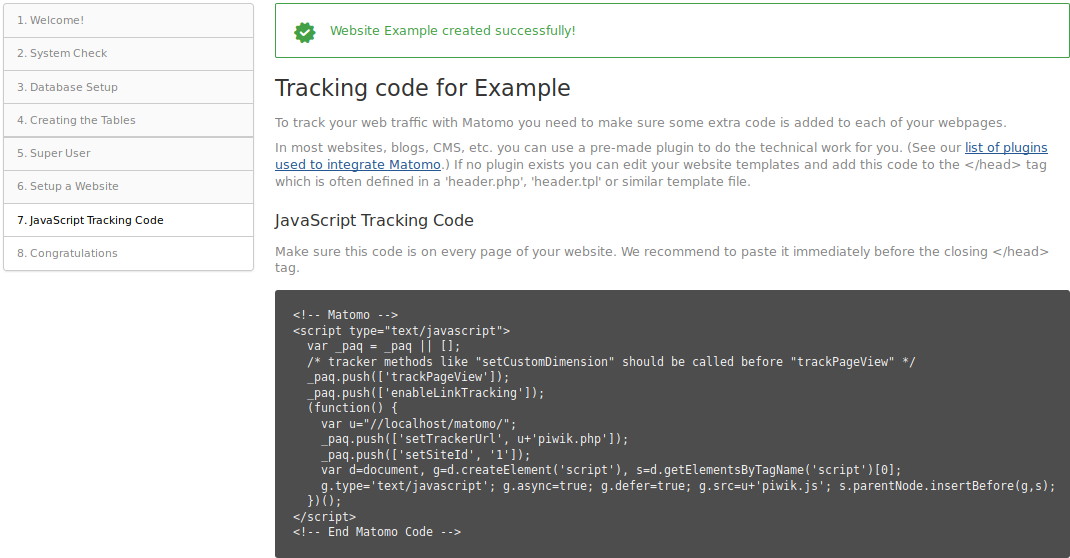
Install the JavaScript Tracking Tag
Install the JavaScript Tracking Tag generated by Matomo on every page you want to analyze. We recommend placing this code right before the closing </head> tag or in a shared header file included at the top of all your pages.
Step-by-step guides are available for the most popular CMS such as: WordPress, Joomla, Webflow, Shopify store, SquareSpace, Wix, GoDaddy Website Builder, Drupal, Jimdo. Matomo can also be integrated in Android and iOS apps, in GTM (Google Tag Manager), Ionic mobile apps and more.
Otherwise you will need to insert your tracking tag manually.
When you have copied your tracking tag click Next »
Congratulations!
Matomo is installed and ready to track your visitors. As soon as visitors start arriving, Matomo will be keeping track of their data. Matomo reports are generated in real time, so you should see data in your Matomo dashboard straight away.
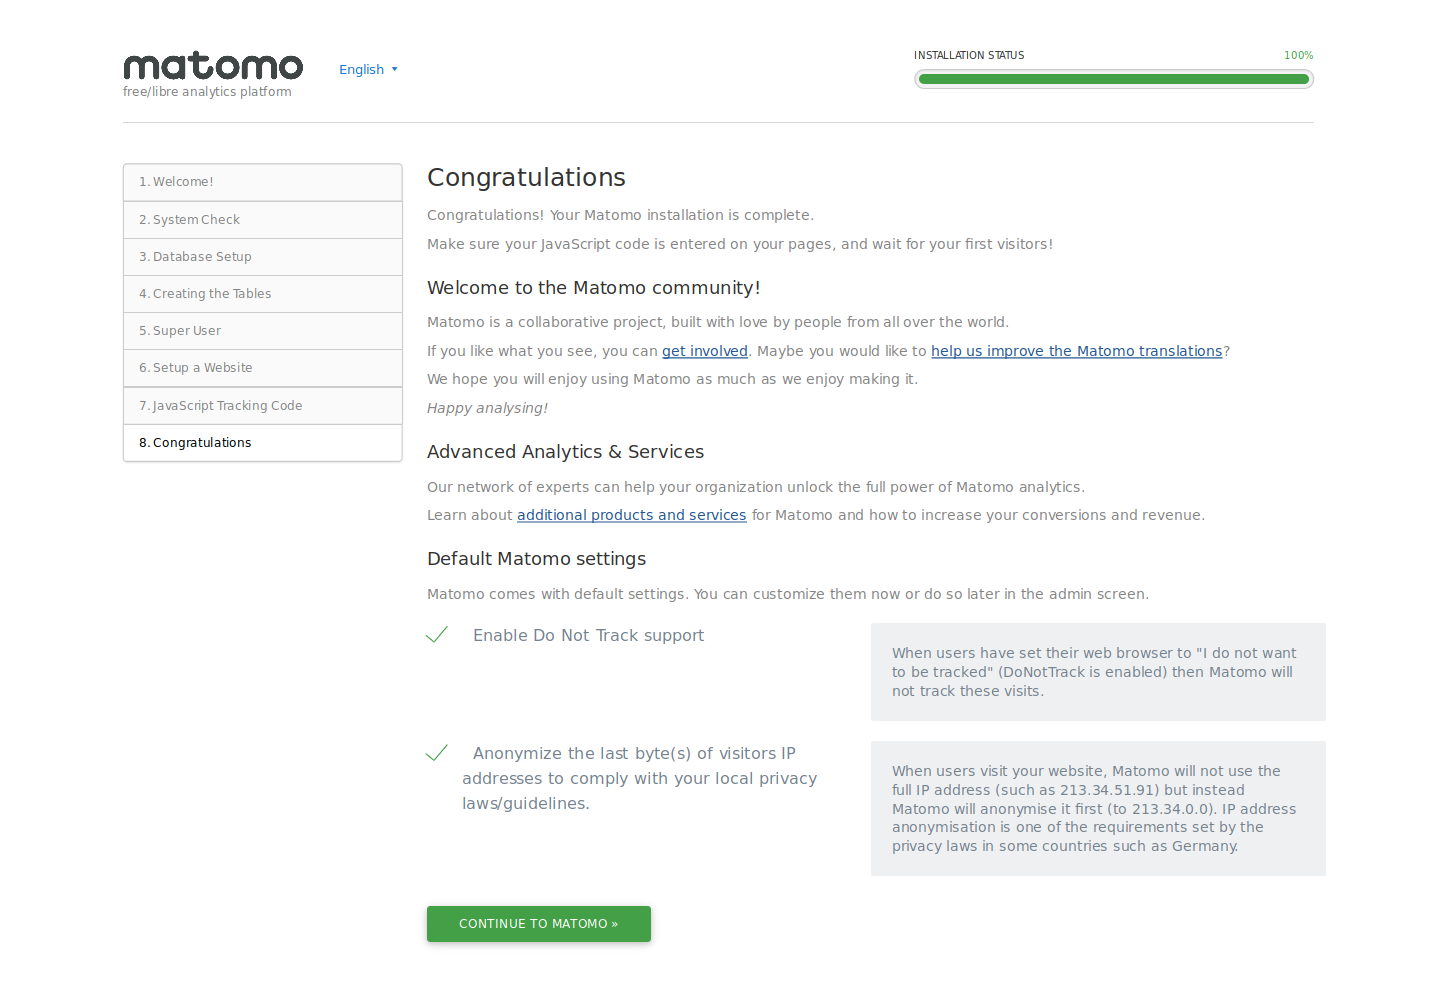
Click Continue to Matomo » and log in to your dashboard!
If something isn’t working correctly or you are experiencing an error, you may want to take a look at the Troubleshooting Guide.
Configuring Matomo
If the Matomo JavaScript tracking tag is properly installed on your website, you’ll be receiving real time analytics data. If you are not receiving any data, make sure that you have copied and pasted the Matomo Javascript code to your website’s pages.
If you want to give other users access to Matomo, or monitor more than one website, or rebrand Matomo or install third party plugins, you will need to use the Administration pages. Click “Administration” in the top menu, then click “Users” to manage users and permissions.
When you have finished configuring Matomo, you can set more restrictive permissions (ie. read only) to the “matomo/config/” folder. There are only two places where Matomo will need to write files:
- the
matomo/tmp/folder - the
matomo/js/piwik.jsandmatomo/js/matomo.jsfiles
Medium and High-Traffic Websites: Setup an automated task (cron) to process reports
If your website is a medium or high-traffic website (more than a few hundred visits per day), we highly recommend to set up auto-archiving cron task so that Matomo calculates your reports periodically. When the cron is setup and the timeout value increased, Matomo dashboard will load very quickly as the reports will be pre-processed by the core:archive command triggered by cron.
If you do not setup the cron, Matomo will recalculate your statistics every time you visit a Matomo report, which will slow Matomo down and increase the load on your database.
Instructions for setting up auto-archiving can be found on the Matomo website at How to setup Matomo auto-archiving.
Updates, Recommended Server Configuration, and More
Check also the Matomo Installation, Update & Optimization documentation for more information.
Matomo training videos
Want to get an overview on how to use Matomo? Watch these training videos below!